Setting Up Project
Before we get started
Make sure that you have NodeJS installed on your machine. After that, you have to install TypeScript and TypeScript Node.
npm install -g typescript ts-node
In order to test HTTP request, we can use Postman to send sample requests.
MongoDB preparation
You should install MongoDB on your local machine, or use other services such as mLab or Compose
If you installed MongoDB locally, you should install either Robo Mongo or Mongo Compass for GUI interface.
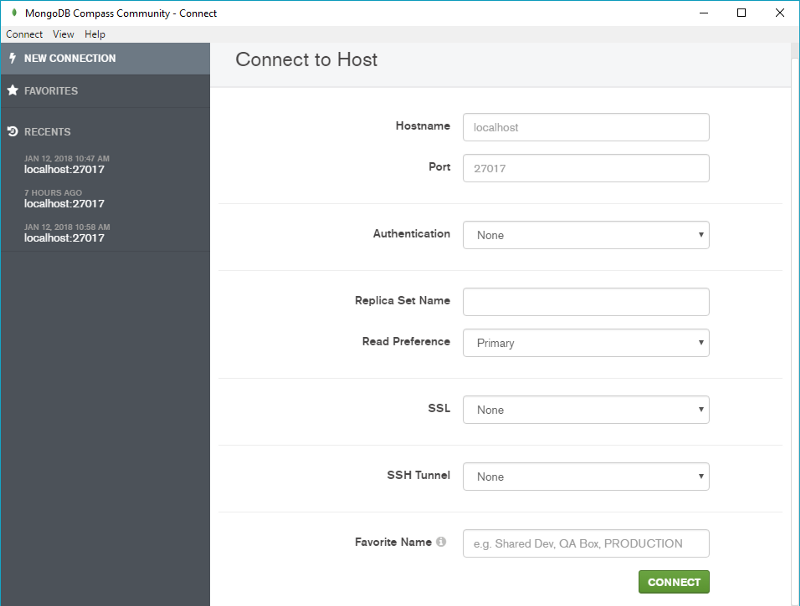
MongoDB Compass GUI Interface
Before we dive into the coding part, you can checkout my github repository if you want to read the configuration in advance. Otherwise, you just need to follow the steps in order to get your project run.
Step 1: Initiate a Node project
Create a project folder and initiate the npm project. Remember to answer all the question, and you can edit it any time after that
mkdir node-apis-project
cd node-apis-project
npm init
Step 2: Install all the dependencies
npm install --save @types/express express body-parser mongoose nodemon
Step 3: Configure the TypeScript configuration file (tsconfig.json)
The idea is to put all the TypeScript files in the lib folder for development purpose, then for the production, we will save all the Javascript files in the dist folder. And of course, we will take advantage of the ES2015 in the project.
{
    "compilerOptions": {
        "module": "commonjs",
        "moduleResolution": "node",
        "pretty": true,
        "sourceMap": true,
        "target": "es6",
        "outDir": "./dist",
        "baseUrl": "./lib"
    },
    "include": [
        "lib/**/*.ts"
    ],
    "exclude": [
        "node_modules"
    ]
}
So whenever we run the tsc command, all the ts files in the lib folder will be compiled to js files in the dist folder
tsc
Step 4: edit the running scripts in package.json
{
    "scripts": {
        "build": "tsc",
        "dev": "ts-node ./lib/server.ts",
        "start": "nodemon ./dist/server.js",
        "prod": "npm run build && npm run start"
    }
}
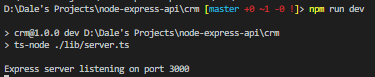
So, for the development, we can run a test server by running
npm run dev
For production
npm run prod
Step 5: getting started with the base configuration
You will need sooner or later the package body-parse for parsing incoming request data.
// lib/app.ts

import * as express from "express";
import * as bodyParser from "body-parser";

class App {

    public app: express.Application;

    constructor() {
        this.app = express();
        this.config();
    }

    private config(): void{
        // support application/json type post data
        this.app.use(bodyParser.json());
        //support application/x-www-form-urlencoded post data
        this.app.use(bodyParser.urlencoded({ extended: false }));
    }

}

export default new App().app;
Create lib/server.ts file
// lib/server.ts

import app from "./app";
const PORT = 3000;

app.listen(PORT, () => {
    console.log('Express server listening on port ' + PORT);
})
From now, although you can not send a HTTP request yet, you still can test the project by running npm run dev.